Setting up your own Mastodon instance with Hetzner and NixOS
Estimated time effort: 1-2 hours (for beginners).
In this blog post, I will briefly describe how you can set up a new Mastodon instance using NixOS on a Hetzner virtual private server. The total cost comes to about $6/month for a smaller server (~up to five active users), although you can later upgrade the server to support more users. This post aims at users with basic Linux skills (ssh, remote file editing), but does not assume familiarity with NixOS or web hosting technologies (DNS, server administration, etc).
We will start by renting a domain and a small virtual private server (VPS), then install NixOS and the Mastodon server, and finally add and authorize a single user.
Acquiring a domain (skip if you already have one)
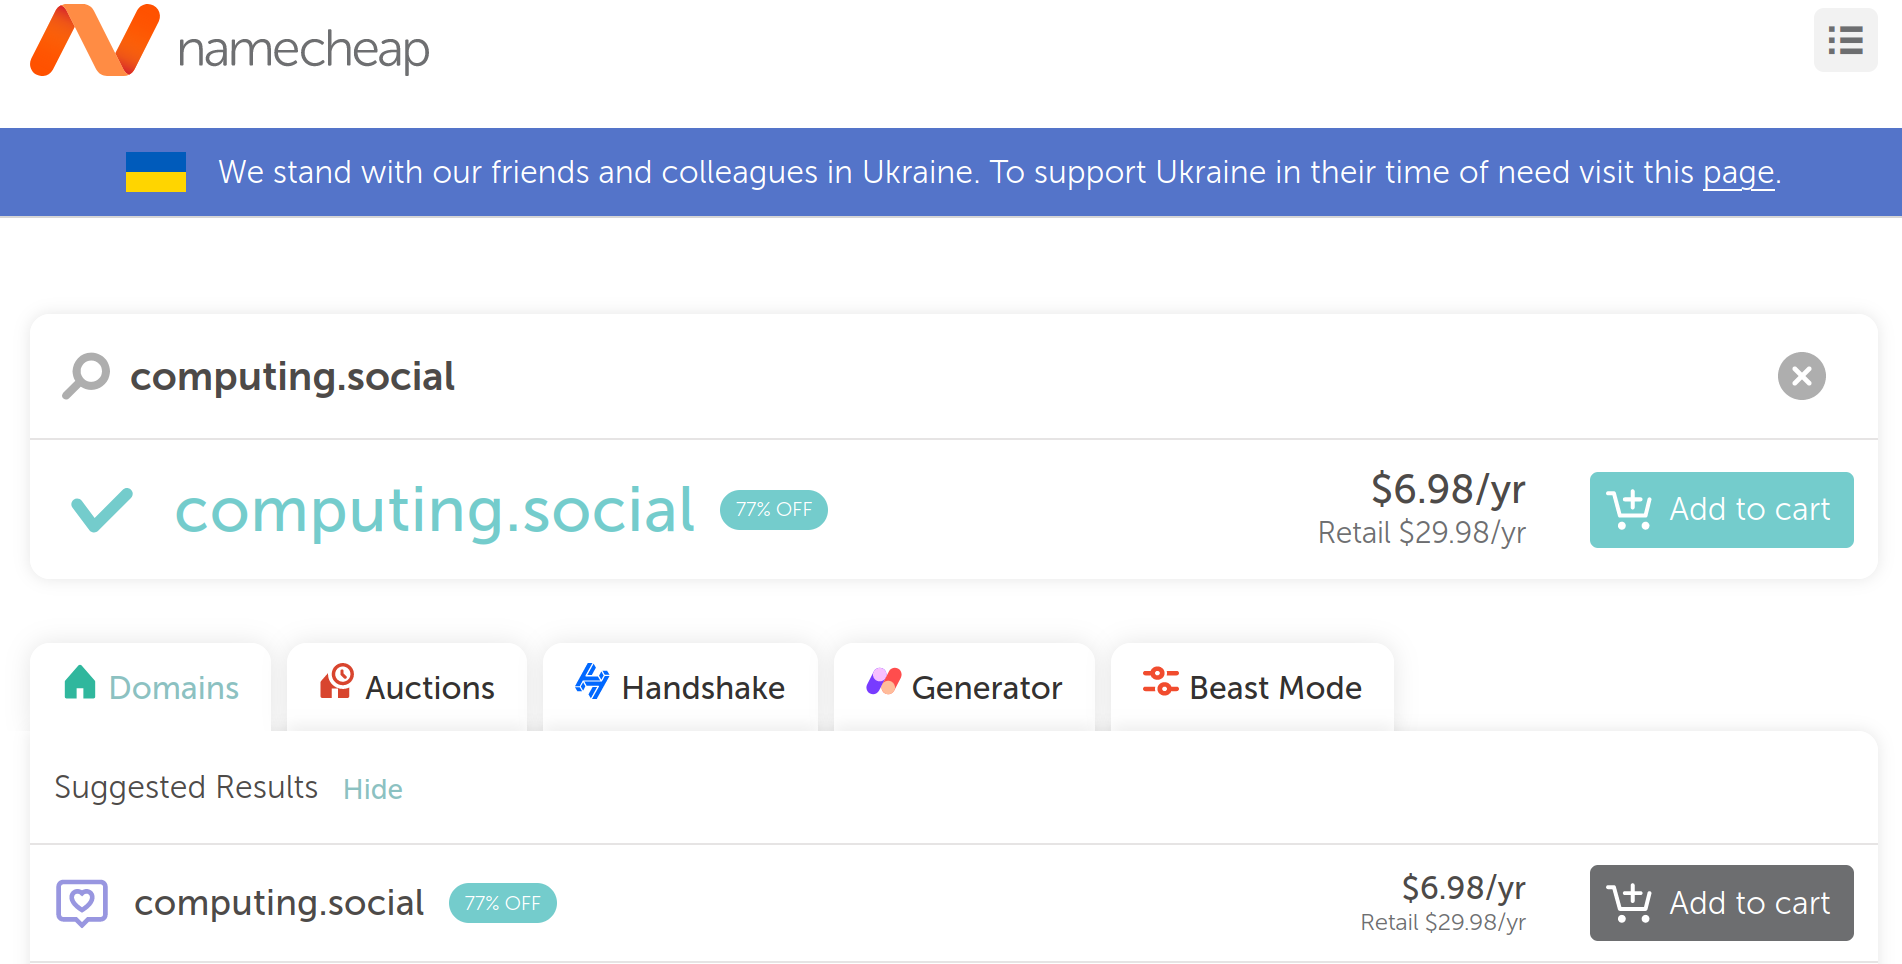
If you don’t have a domain yet, we should start by renting out a domain, e.g. from namecheap.com, domains.google.com, or another service. Currently, on namecheap the domain computing.social sells for about $7 per year, or about 60ct a month.
Finish the order until you can see an option to configure the “DNS” or “nameserver”. Later, we will come back to this and point the domain to your server’s IP.
Renting a VPS
We will need some kind of server to host your Mastodon instance. I recommend going with hetzner.com/cloud (affordable, based in Germany), but other options will be fine too. For hosting only a few users, it is sufficient to pick a small server with two cores, 2GB RAM, and 40GB disk space, (leave IPv4 enabled for now) which will cost you about $5.50 per month. You will be easily able to upgrade the server later if necessary. Hetzner’s servers are located in Germany, Finland, and the US (Virginia). Pick the closest one.
Installing NixOS
After renting the server, you will have an option to pre-install an operating system. Pick (any) Debian; we will shortly override it.
Once the server is initialized, we want to make sure we can connect to it using a secure shell (ssh).
For this, generate an ssh key on your own computer, and paste the public part (e.g. hetzner.pub) into the Security->SSH Keys section of your Hetzner profile.
This should allow us to connect to the server by running ssh root@[server ip address]. The server’s IP address is available in the Hetzner web interface.
Finally, we can install NixOS by simply running the nixos-infect script. Have a look at the script first! Then, on the server (i.e. in the ssh session) execute
curl https://raw.githubusercontent.com/elitak/nixos-infect/master/nixos-infect | NIX_CHANNEL=nixos-22.05 bash -x
and reboot. Voilà!
Note that nixos-infect should automatically reuse your ssh key, so you will still be able to connect with the same ssh command as before.
Installing Mastodon (and some extra necessities)
NixOS is fully and declaratively configured through a single text file (plus a second hardware-configuration file) located at /etc/nixos/configuration.nix.
In this text file, we will declare that the Mastodon server must be installed. As long as this is in your configuration, NixOS will always ensure that Mastodon is installed (i.e. there is nothing like apt remove mastodon), and automatically manage Mastodon with systemd.
In the config, we can also configure some web fundamentals that will allow the server to be accessible through the internet.
Note that NixOS does not come preinstalled with a nice text editor.
Thus, to edit the configuration file, we start by temporarily adding an editor executable (e.g. vim or nano) to the current shell session by executing nix-shell -p vim (or nano).
This will allow using vim in the current shell session, so we can edit the NixOS configuration file, where we can declare for vim to be permanently available.
Open the configuration file with sudo vim /etc/nixos/configuration.nix.
Take a moment to see what is already pre-configured (hey, there’s your public ssh key!).
Then, start by making sure vim is permanently available. Add anywhere (within the outermost braces)
programs = {
  vim.enable = true;
};
(Note that this syntax is equivalent to writing programs.vim.enable = true;)
Let’s see if this worked! Exit the editor (:wqENTER in vim), and run nixos-rebuild switch to reload and process the new configuration file, and “switch” to the new configuration.
Close and reopen the ssh session, and see if vim is still available, now permanently instead of temporarily. If so, we are ready to configure Mastodon.
To install Mastodon, we will
- install the Mastodon server,
- open the necessary Firewall ports, and
- set up HTTPS.
In order to install the Mastodon server, it’s as simple as adding
services.mastodon = {
  enable = true;
  localDomain = "PUT-YOUR-DOMAIN-HERE e.g. computing.social";
  configureNginx = true;
  smtp.fromAddress = "";
};
to the configuration.nix file. (Note that we are currently not configuring the mail server.)
Then, we just need to open the ports for http and https connections in the firewall, and configure Let’s Encrypt (ACME) which will enable HTTPS for us.
networking.firewall.allowedTCPPorts = [ 80 443 ];
security.acme = {
  acceptTerms = true;
  defaults.email = "PUT-YOUR-CONTACT-EMAIL-HERE e.g. foobar@romeov.me";
};
Close the file and run nixos-rebuild build to check if everything builds.
Now we just need to connect your domain with this server’s IP address.
Set up the DNS records (i.e. connect domain name and IP)
Go back to your domain registrar, and find the DNS settings. Add a “Type A Name Record” that forwards your domain (e.g. computing.social) to the IP address of your server.
Then, navigate to the Hetzner cloud interface and find the “Networking” section for your server. For IPv4, find “Edit Reverse DNS” and enter your domain once again.
Finally, go back to your ssh session and run nixos-rebuild switch to finalize the setup. If everything works, you should be able to go on your browser and navigate to your domain, and Mastodon should come up! (Note that it can take a few minutes for the DNS records to get updated).
Adding your user
Wow! Our Mastodon instance is running, and we can create an account directly on the newly accessible website (e.g. computing.social)!
However, since we skipped the email setup, we will not be able to receive a verification email, and have to manually “approve” the user.
Go back to your ssh session, switch the user to the Mastodon user, and approve your newly created account.
# switch user
su - mastodon -s $(which bash)
# approve through tootctl
mastodon-env tootctl accounts approve PUT-YOUR-USERNAME-HERE
# accept email address through tootctl
mastodon-env tootctl accounts modify PUT-YOUR-USERNAME-HERE --confirm
And you should be all set! Feel free to add more users the same way.
If you have any problems with this tutorial, send me an email or contact me on Mastodon @romeo@social.romeov.me.
Romeo Valentin
PhD student at the Stanford Intelligent Systems Lab (SISL)
Interested in certification of ML-based safety-critical systems, including vision and decision making.